


 Header Through Cloudflare")


")
In this article, we have put down the troubleshooting methods for resolving the Mac Camera Not Working after installing the macOS Monterey issue.
The camera is an integral part of your Mac, and it’s hard to imagine doing your work with a malfunctioning camera. Ironically, it is the most common issue that mac users are struggling with after upgrading to macOS Monterey. Without a camera, it is impossible to attend virtual meetings, make video calls, and even FaceTime with your friends.
Even though it might seem impossible, setting your Mac camera straight is not a big deal. Most often than not, the Mac camera not working issue is caused by software problems, and it is not a hardware issue. Luckily, you can resolve the underlying cause by employing a few easy fixes.
Macs are equipped with a front webcam commonly known as a FaceTime camera. Similar to the other PCs, the camera is located at the top front of the screen and automatically gets into action when you intend to capture photos and record the videos. It also acts as a communication medium during the video call.
Generally, when required, the camera is enabled automatically. However, due to some reasons, the camera might fail to start automatically. If this happens, you have to manually resolve the camera issues on your Mac running on macOS Monterey.
Before heading out to troubleshoot the buggy Mac camera, let’s spare a moment to glance at the possible causes behind camera failure.
Also Read: [Fixed] Command R Not Working In macOS Monterey
Reasons why the camera is not working on Mac
When your Mac camera starts to malfunction, it will refuse to connect, and you might also get the There is no connected camera error while using an app. Do not think that this is hardware triggered issue, and you need to connect your camera to your Mac in some way or the other.
macOS does not include any specific settings to resolve the camera issue directly. Similarly, there is no physical switch that you can turn on to make the camera work. However, it is possible to fix the camera not working issue on Mac easily using a few workarounds. To help you out, we have put down the troubleshooting guide that contains the tips and tricks to make the Mac camera work again.
Force quit conflicting apps
If you are unable to use a Mac camera in the apps like FaceTime, Skype, Photo Booth, or Zoom, there is a good chance that these apps are conflicting with Mac and rendering the camera unusable.
You can force quit these apps after saving your work, and then you can restart them later.
Here’s how to begin:
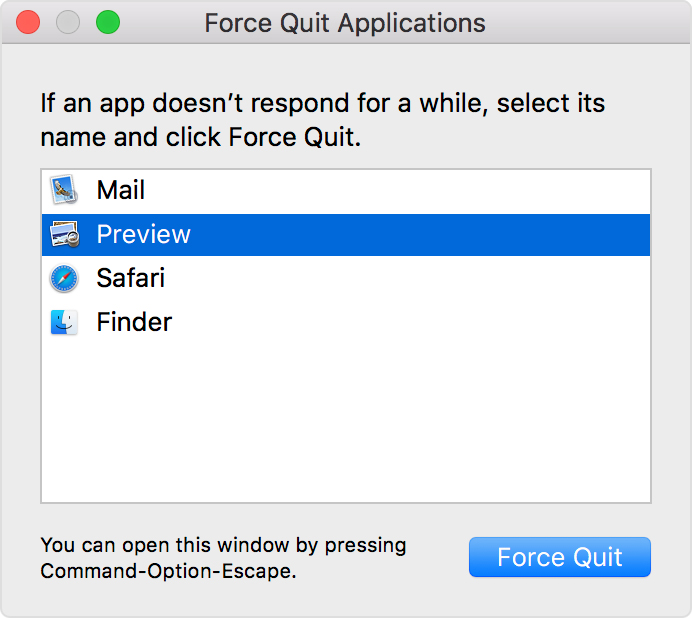
- Use the Command + Option + Esc shortcut to open the force quit screen. Alternatively, you can also click on the Apple menu and choose the Force Quit option.
- Now hold the command key and choose all the apps using the camera.
- Finally, press the Force Quit button.
- Wait for some time and launch the apps again. Hopefully, the camera will work now.
Also Read: 9 Ways To Fix External Monitor Not Working After macOS Monterey 12.3 Update
Restart your Mac
If the camera is still not working, it’s time to restart your Mac to get rid of the temporary glitches. Here’s what you need to do:
- Tap the Apple logo on the top right and choose the Restart option.
- Wait until Mac reboots itself.
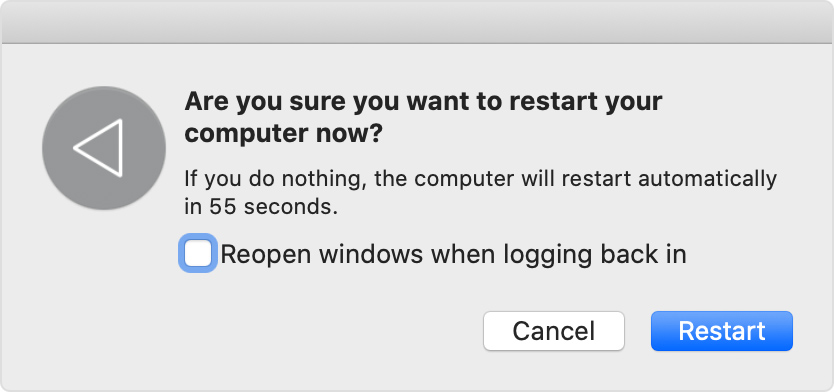
- Now launch an app that utilizes the Mac camera.
Note: If a simple restart did not do any good, boot your Mac in safe mode to see if the issue is resolved.
Enable your Mac camera using terminal
Though not a common scenario sometimes, some apps might use the Mac camera, and upon closing it, the camera did not close properly. That is why another app cannot use the webcam. You can quit the camera properly using the terminal. Here are the steps to do it:
- Launch the Finder app and then go to the Applications section.
- Then choose the Utility option, and look for the Terminal app.
- Launch terminal on your Mac and then enter the following commands:
sudo killall VDCAssistant
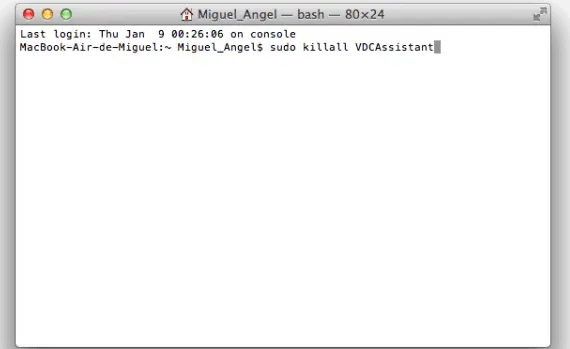
- When you’ll execute the command, the VDCAssistant process running in the background helps the camera to function is stopped. You might also be prompted to enter your Mac password before executing the command.
- Alternatively, you can also copy-paste and execute the following command:
sudo killall AppleCameraAssistant - Finally, hit the enter key and provide the Mac password if prompted.
Also Read: How To Download macOS 12.4 Monterey Developer Beta
Update/Reinstall the problematic app
If you are constantly facing camera issues with only one app, there is a good chance that the issue lies in the app itself and not in the camera. To get rid of the bugs hogging the camera app, you can update the app from the updates section of the App Store. You can also uninstall that app and then re-install a fresh copy of the app.
Permit apps to use the camera
Apple has allowed you to control which apps can use the Mac camera and which should be denied from doing so. So if you restricted any app from using the webcam previously, you have to grant the permission to make it work again. Here are the steps to do it:
- Expand the menu by clicking on the Apple logo and choosing the System Preferences option from the dropdown.
- Choose the Security & Privacy tab from the System Preferences window and choose the Camera option.
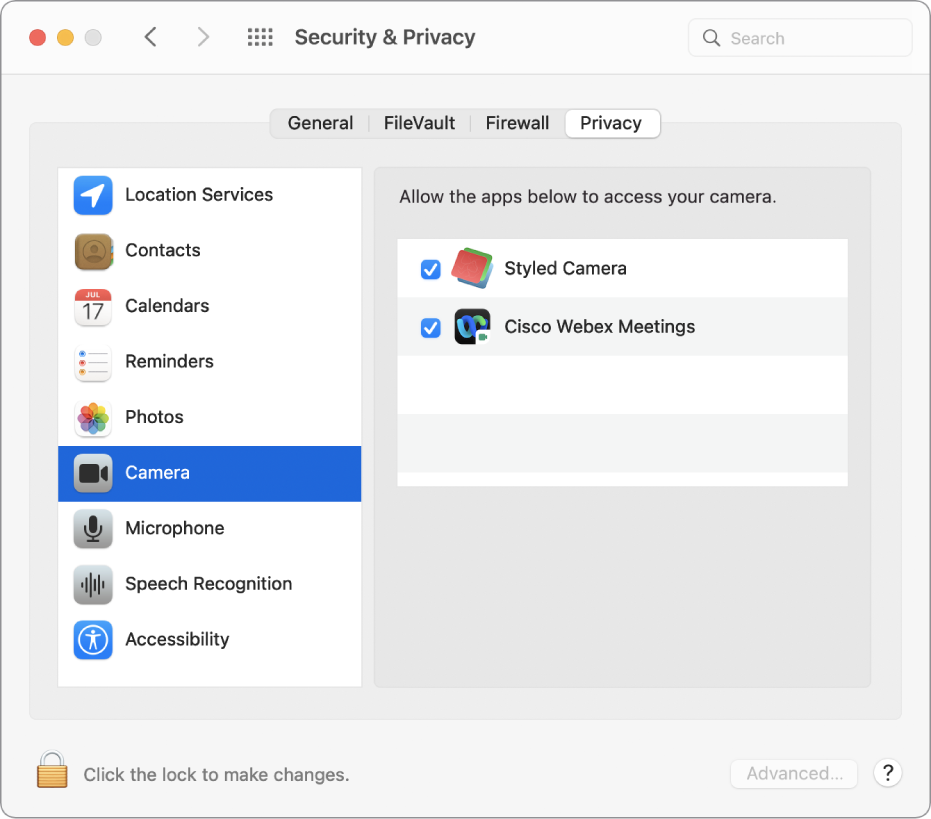
- Here, look for the app unable to use the Mac camera and then ensure there is a blue tick.
Ensure Screen Time has not restricted the Mac camera
Apple has introduced a feature known as Screen Time which makes it possible to restrict any app to take a break from technology. If you have restricted the camera via the Screen Time feature you will not be able to use it. Here is how to enable the camera app.
- Access the Apple Menu and choose > System Preferences > Screen Time.
- Choose the Content & Privacy option from the left menu and choose the Apps option.
- Now, you need to ensure that the camera app is not restricted to the Screen Time feature.
Also Read: Sound Not Working After Updating To macOS Monterey: Fixed
Update your Mac
Since macOS Monterey is relatively new, you are likely to face performance issues and weird problems like this one. Developers, however, keep releasing new patches to fix these issues. So you can download and install the latest version of the macOS on your machine.
For this, go to System Preferences > Software Updates. Now look for the pending updates and if you find any, download and install them on your Mac.
Generate the Mac System Report
If none of the methods listed above worked till now, it’s time to generate Mac’s system report. Here is how to access the Mac system report
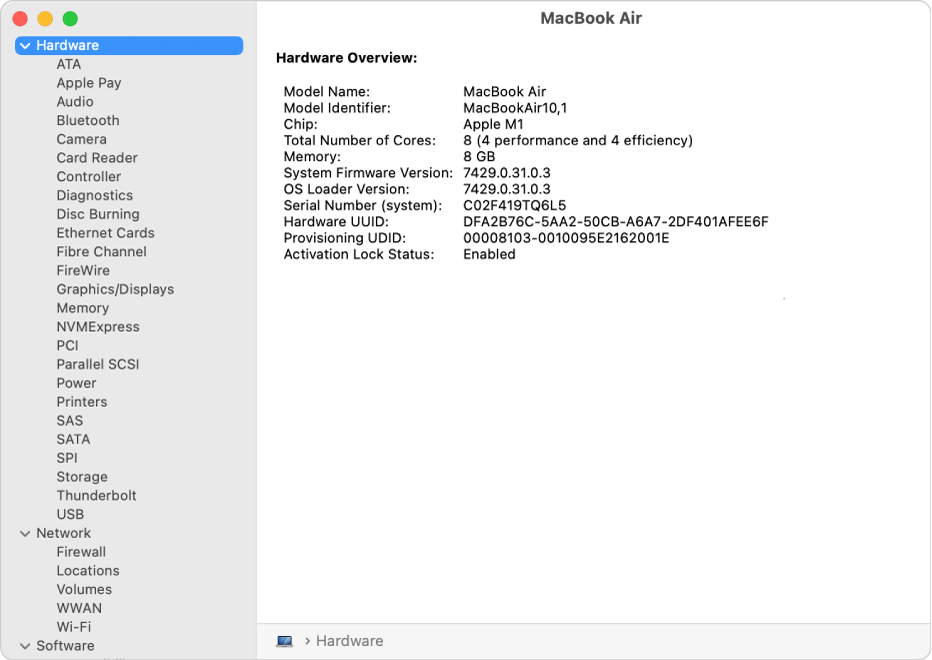
- Tap the Apple logo present on the top-left.
- Now choose the About This Mac option followed by System Report.
- From the left navigation window, choose the Camera option.
- Now the camera configuration will be visible on the right side.
If you do not see any details, that means your camera is facing a hardware issue. You should contact Apple support at the earliest to seek help in this regard.
Also Read: Trackpad Not Working After macOS Monterey Update
Wrapping Up
That’s all in this troubleshooting guide. Above we have listed the troubleshooting methods that can resolve the camera not working on Mac after installing macOS Monterey. If none of the methods work, you should reach out to Apple Support and take their expert advice for resolving the issue.


