


 Header Through Cloudflare")


New to macOS Ventura, the newest version of macOS 13, are enhancements such as Live Text, iCloud Shared Photo Library, Stage Manager, Continuity Camera, and more. Mac users may have received alerts to upgrade to macOS Ventura. On the other hand, some users either don’t get updates for macOS Ventura or their Macs couldn’t complete the upgrade to macOS Ventura. Don’t worry; our installation guide includes fixes and solutions for common problems like these.
Mac OS Ventura Setup Failed; why?
If you see an installation problem for macOS Ventura on your Mac, you might be wondering why. Therefore, we now know the solutions to your problems. We’ve outlined the reasons why you might be unable to install macOS Ventura below:
#1. Compatible devices
The Ventura update is not available for all Mac models. As an added downside, Ventura cannot be used on computers running Mac OS X prior to 10.5. Therefore, you need to make sure your OS is compatible.
#2. Subpar Internet Access
The Ventura update requires a working internet connection. Resolving issues with your Mac’s WiFi or network connection is helpful if you’re experiencing difficulties.
#3. Lack of Closet Space
To run macOS Sierra or a comparable release, your Mac must have at least 26 GB of available RAM. Moreover, if you run a prior version like Yosemite, then a minimum of 44 GB of space is necessary. In an ideal situation, it makes sense to have extra room.
#4. Problems with Apple’s Server
Many of Apple’s offerings become inaccessible if the company’s servers go down. To find out if a server problem is to blame or if another factor is at play, you should check Apple’s System Status page.
Find Out If Your Mac Is Compatible
macOS Ventura won’t install, which might be due to many factors. But it’s on you to check if your Mac is compatible. There has been an upgrade for Macs, but not all MacBooks can use it. As a result, compatibility must be verified before attempting to resolve the issue.
If you’ve already checked those locations and the macOS Ventura update is still not there, it may be because your Mac model is not supported. Select “About This Mac” from the Apple menu. Compatible hardware for macOS Ventura includes the iMac 2017, the MacBook Pro 2017, the MacBook Air 2018, the Mac mini 2018, the Mac Pro 2019, and the Mac Studio 2022.
#1. To Verify WiFi Connection, Shut Down and Restart the Device
When your Mac displays the Ventura update failed warning, you might immediately jump to the worst-case scenario, but a weak Wi-Fi signal could have just caused it. To upgrade to macOS 13 Ventura, you need uninterrupted internet access.
This may be done quickly by following these steps:
1. Connect your Mac to a wireless network.
2. Switch off Wi-Fi briefly, then turn it back on.
3. If you’re having trouble downloading macOS 13 Ventura, try again when you have reliable internet.
#2. Make Sure That You Have Enough RAM (Capacity & Memory)
The lack of available RAM on your Mac might cause the macOS 13 Ventura upgrade failure. This is why it’s important to regularly check the amount of RAM and total memory available on your Mac.
A few easy methods for doing so are as follows:
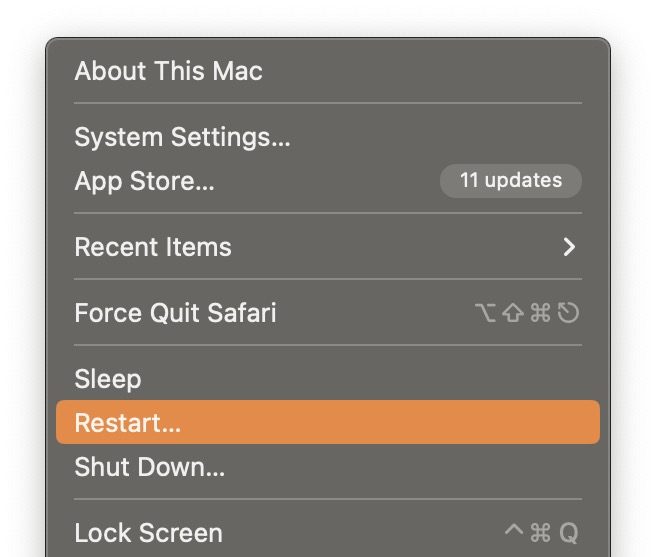
1. Select Apple Menu.
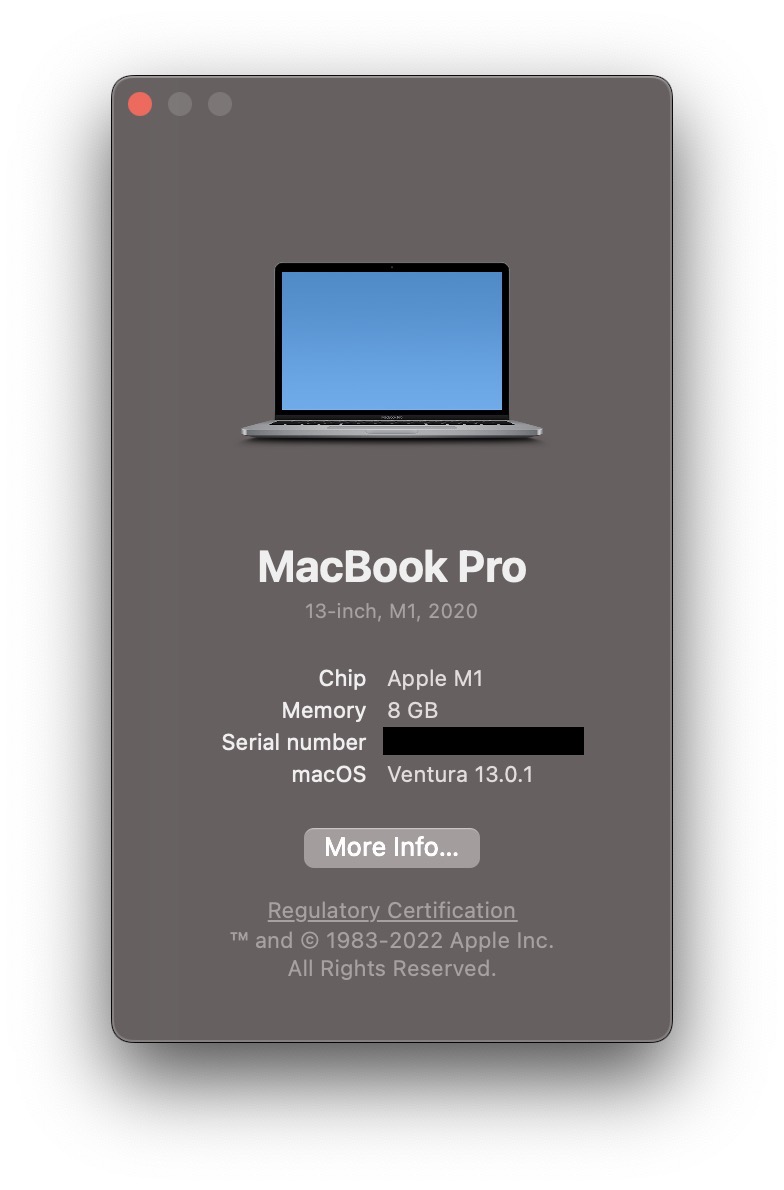
2. If you want to learn more about your Mac, select the “About This Mac” option.
3. Examine the Mac’s RAM settings in detail.
#3. Mac OS Ventura: Safe-Mode Update
If you have a sufficient amount of available disk space on your Mac, a Mac that is compatible with macOS Ventura, and a decent wireless connection, but the update still fails, check your network settings. Updating to macOS Ventura should be considered during safe mode since it creates a pristine and protected setting in which the update can be installed.

1. The Safe Mode button is conveniently located: To enter safe mode on an Intel-based Mac, power on or restart the machine while holding down the Shift key until the login window appears. After you sign in to your Mac, you’ll notice “Safe Boot” in the top menu.
2. Safe mode startup requires you to shut down your Mac and hold the power button until “Loading startup choices” appears.
3. Decide on a volume level. Hold the Shift key and select the Safe Mode option from the drop-down menu. Once you’ve logged into your Mac, you should see “Safe Boot” in the menu bar.
4. Then, while in Safe Mode, initiate the macOS Ventura update process.
#4. Get macOS 13.0 Ventura again and reinstall it.
The final step is to reinstall the upgrade to macOS 13 Ventura. Connecting to Apple’s official store and completing the purchase is straightforward. Use these instructions to set up macOS 13 Ventura on your computer.
1. Launch a web browser on your Mac and navigate to support.apple.com.
2. Choose the update from the list.
3. Next, click “Download,” then “Save File,” then “OK,” and last, launch the installed file.
4. Double-click the setup file, and then hit “Continue” on every window.
Please be patient while the latest updates load. You may need to restart the machine to see if the changes took.
#5. Please uninstall the software and retry.
You would have wasted your time by installing the Ventura Installer software. That’s why in that case, you should uninstall the Installer software and give it another shot. It may be deleted in the same way as other programs.
The macOS Ventura Installer application can be removed in the following ways:
1. Open Finder and navigate to the Applications folder using the left sidebar.
2. To delete macOS Ventura, go to the Applications folder, then click and drag the Ventura icon to the Trash.
3. Eliminate everything in the trash by selecting the corresponding icon.
4. Restarting your device is the fourth step.
5. By emptying Trash, you may eliminate any leftover remnants of the macOS Ventura Installer software. Next, head to the Software Updates tab and reinstall the updated software.
#6. Get into Recovery Mode on a Mac and Install the New Mac OS, “Ventura”
If the Ventura installer fails to launch, entering Recovery Mode is your last resort. The macOS Ventura may be installed by entering Recovery mode. However, recovery Mode may be time-consuming, and the process differs between Intel Macs and Apple Silicon Macs (Apple M1 chip, M2 chip).
Apple Silicon (M1/M2 Mac) macOS Ventura Recovery Mode Installation:
1. Power on your Mac and keep holding the power button until you do not see the Startup Window.
2. Then, from the menu that appears, choose “Continue” by clicking the gear symbol.
For Intel-based Macs, utilizing Recovery Mode to install macOS Ventura:
1. Press and hold the Power and Cmd R buttons at the same time
2. Put down the keys when you see the Apple logo.
3. Your Mac will launch into Recovery Mode. You will be requested to update your macOS version now. Following that, Ventura will be installed and your Mac will restart.
Conclusion
As a result, Mac users of all skill levels may rest easy knowing they can successfully resolve macOS 13 Ventura upgrade failed issues. Typical Venture update failed error messages are explained in detail for novices and experts. After learning more about the problem at hand, various solutions become readily available for use.


