


 Header Through Cloudflare")


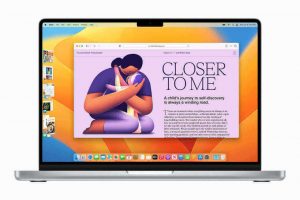
Ventura is the name of the nineteenth major release of Apple’s macOS desktop operating system for Macintosh computers. According to Apple, macOS Ventura includes significant upgrades to Mail, Spotlight, Safari, and Messages. This is in addition to Stage Manager, FaceTime Handoff, and Continuity Camera for Mac. The developers are getting a Beta preview of Ventura, after the recent macOS 13’s release. Through this article, we will look at how to create a bootable macOS 13 Ventura installer on a USB drive.
The name of macOS 13 is Ventura. The Californian city of Ventura serves as the inspiration for the new Mac operating system from Apple. It’s the first time in a few years that the business hasn’t named macOS after a Californian city instead of a National Park.
Apple got a nice redesign to its software with this update.
Original availability – macOS Ventura
Currently, the macOS Ventura is available for the public domain of beta testers. Soon, the stable version will be released. The registered developers must test the existing functionality. All the iMacs and MacBooks released after 2017-2018 are eligible for the macOS Ventura Preview.

Why use a Bootable USB Drive?
A bootable USB drive is a very handy tool for accessing the installation of OS. That can be whenever there is an important need. We can use it to install the macOS Ventura into multiple devices, and you can configure or totally change the existing operating systems in the devices.
Still, wondering how to create a bootable macOS 13 Ventura installer on a USB drive? Let’s dive into it now!
Get Started
The first step in the process is to register or enroll in the Apple developer program list. You must pay around 100 dollars in order to be eligible for the developer features.
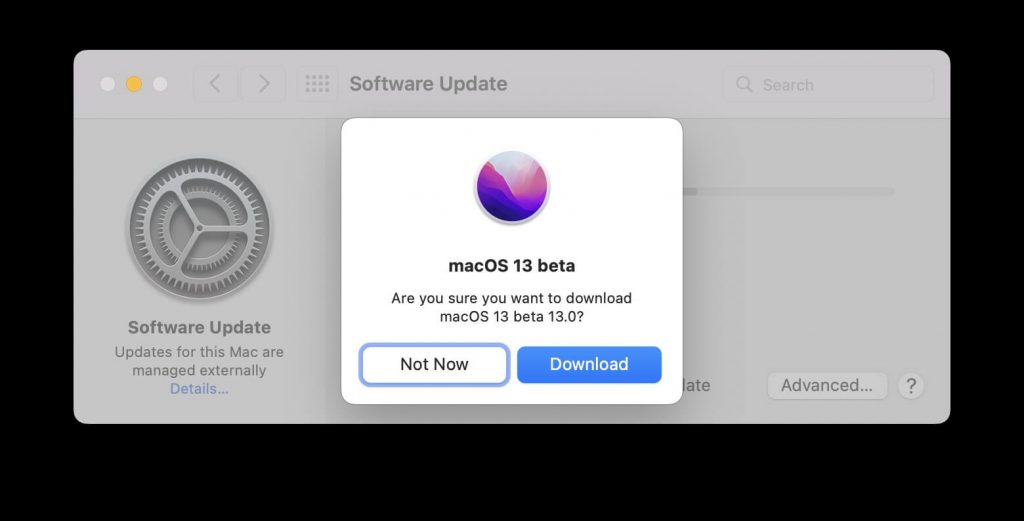
On the Apple developer program page, head over to downloads and select macOS 13 Ventura. It will probably be the beta version. Once it’s downloaded in the software update tab on the mac, it will prompt you for installation.
Here, do not click on install. Click cancel and keep the downloaded file in the system.
Pre-requisites
The important prerequisites you need for continuing with the process are the following.
You must be having a 16 GB or more – Flash USB Drive.
A place with a stable internet connection. Weak internet should not be an interrupting factor for us.
Be enrolled in the Apple developer program, and have some free time to make a bootable drive.
Format the USB Drive
You must erase and format the USB flash drive that you are having, in order to proceed further. For this purpose, connect your flash drive to the mac and open the disk utility. Select your connected drive (USB) and click on Erase.
In the format tab, select macOS Extended – Journaled. Then, click on Erase finally. Your USB flash drive is now a bootable installer for macOS after being properly configured.
Creating the Bootable Drive Installer
You have downloaded the macOS 13 Ventura DMG file into your system. And you also have a formatted flash USB Drive. Now, go ahead and open up the terminal on the mac.
After launching the terminal, enter certain commands into the terminal.
sudo /Applications/Install\ macOS\ 13\ beta.app/Contents/Resources/createinstallmedia –volume /Volumes/USB –nointeraction
In the above command, make sure to replace the USB with your valid USB name. Press Return and enter your mac password to start the process. This will erase the disk and make the disk bootable. This is a 15 minutes process, so be patient.
This will then copy the contents to the disk and prompts you when the process is finished. The prompt looks like this – Install media now available at some destination. You have a bootable USB disc for macOS 13. Let’s now look at how to install it.
Installing the macOS 13 Ventura
Switch off the device and plug in or insert your bootable USB drive.
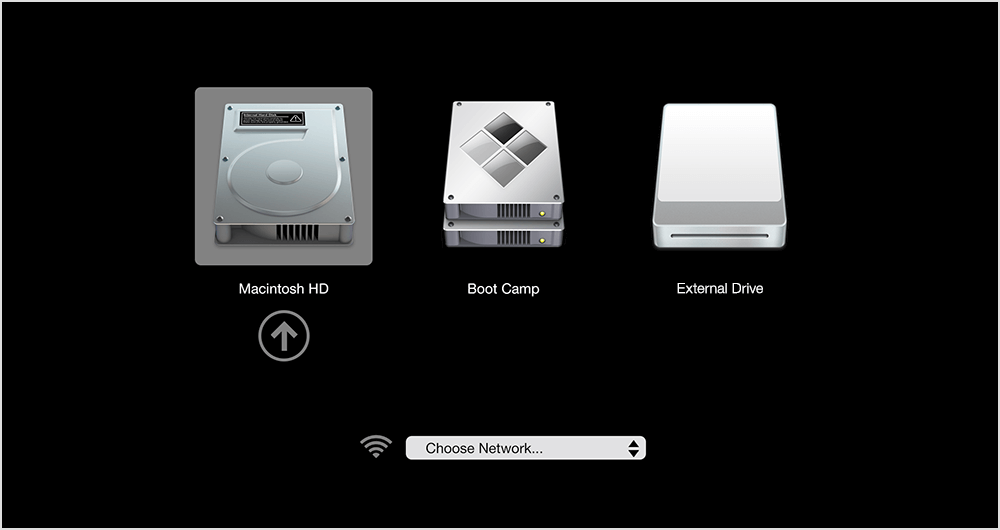
Once the USB drive is inserted, hold the power button to turn on the device, until you see the startup options screen. This step could involve holding the options key as well in certain cases.
Once your screen is displayed, select the bootable USB flash drive from the listed options. Press continue, to start with the installation process. Go ahead with the installation process as per the mentioned steps.
As mentioned previously, you must go with the options key when you are installing on an Intel processor chip, instead of the Apple silicon.
So, this is how to create a bootable macOS 13 Ventura installer on a USB drive. You can go ahead and create a bootable installer very easily by following the above-mentioned steps carefully.
Let’s look at some of the features of the latest macOS Ventura Beta version!
macOS 13 Ventura Beta – Features
Talking about messages, if we send a message or text to a person on the mac, we will be able to change or edit that message. We can even unsend the message within a 2-minute time frame. Whenever you edit a sent message, you will be able to see that a particular message was edited from your side, and you can scroll through the change logs of multiple edit histories.
Heading over to Mail now. Go to email settings and select composing tab, you can now configure the undo send delay time manually.
Now, go to the Stage Manager. The stage manager arranges your recent windows into a single strip for easy access and clearing of the clutter.
The Continuity Camera lets you have a Start Desk View on the camera, which lets you arrange the stage for you on the screen.
On the Home App, if you go to Home settings, scroll down to wallpapers. You can now have different Home wallpapers, just like on iOS.
Speaking of the Settings, on the privacy and Security tab, for instance, we now have different interface access. Previously it was a drop-down, and now it is a selectable button. The switch to turn on or turn off the screen time is on the top of the screen now.
Other than these, there are many solved issues for small problems on this new beta version of Ventura. You can know more about them through the official release notes.


