


 Header Through Cloudflare")


Capturing precious moments through photography has become easier than ever. No matter, if you’re a professional photographer or simply an aficionado, the convenience of digital cameras and smartphones, authorizes us to amass innumerable memories in the formation of digital photos. However, when it comes to transferring these photos between different operating systems like Windows and Mac, can often feel challenging due to the unique platforms and varying levels of compatibility they offer. This situation compels users to search for improved techniques to ensure a smooth and hassle-free transfer process.
If you are someone seeking to transfer pictures from Windows to Mac this article is just for you. In this post, we will explore the various methods and techniques to effortlessly transfer photos created in Windows to a Mac, ensuring that your cherished memories seamlessly transition between these two popular platforms.
Also Read- Five Good Reasons For Using iCloud Photos And When Not To Use It
Methods To Transfer photos created in Windows to Mac
Method #1. use an external hard drive to transfer Photos from a PC to Mac
When it comes to transferring files from a PC to a Mac, employing an external hard drive is often the most steadfast way. Thankfully, the process of utilizing an external hard drive for file transfers is straightforward. Besides, to assure compatibility for data-transfer purposes, such as moving pictures, it’s integral to format the drive utilizing the Windows’ FAT32 file system. By accomplishing so, both your Windows PC and Mac will be capable to read from and write to the drive quite smoothly.
Note that, if your external drive is not already formatted to the FAT32 file system, you can use a utility called “Disk Utility” on your Mac to format it accordingly.
Also, on Windows PC, the pictures and saves to my pictures folder meanwhile on Mac the pictures are saved to the Pictures folder. So, in this method, you will be copying pictures from the My Pictures folder on Windows and transferring them to the Pictures folder on your Mac.
Now, follow the step-by-step guide on transferring files from Windows to Mac using an external hard drive:
- Start by connecting the external hard drive to your PC.
- Then, navigate to the folders containing the files you want to transfer such as the My Pictures folder.
- Select the pictures you wish to copy and then paste them to the external hard drive.
- After that, safely remove/eject the external hard drive from the PC.
- Now, to transfer pictures to Mac, connect the same external hard drive to your Mac.
- Then, you need to open Finder on your Mac and locate the external hard drive.
- Next, navigate to the folders on the external hard drive where you saved the copied files.
- Now you need to choose the preferred pictures you like to transfer to your Mac.
- Copy the selected files and navigate to the desired location on your Mac (i.e. Pictures folder).
- Paste the files into the chosen location on your Mac and that’s it! You have transferred the pictures to the Mac from Windows.
Also Read- Take Better Photos With Your iPhone | 6 Quick Easy Tips & Best Camera…
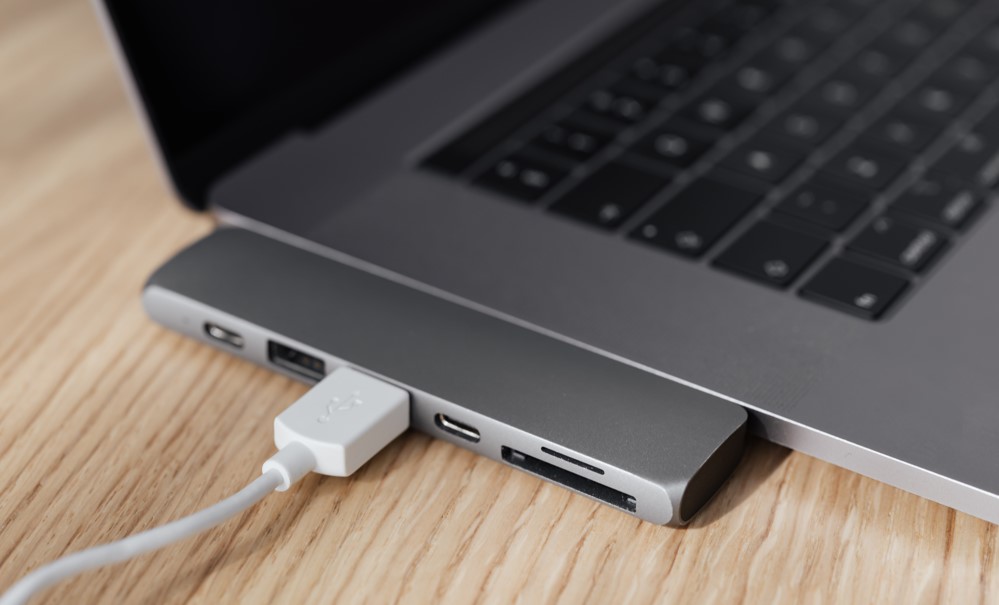
Method #2: use USB Drive to transfer Photos from a PC to Mac
Just like the method mentioned above, you can use a USB drive if you don’t have an external hard drive on hand. The steps required to transfer pictures from Windows to Mac are the same as it is for the external hard drive. Down below are the steps you need to transfer pictures from Windows to Mac:
- Connect the USB device to a port on your Windows PC.
- Head to the My Pictures folder and copy the images you want to transfer to the USB device.
- Then, disconnect or eject the USB device from the Windows PC.
- Next, connect the USB device to your macOS computer.
- Then, open Finder and look for the USB drive to show up, and then navigated to the folder where you copied the images on your USB. After that, copy the files from the USB device to the desired storage (Pictures folder) drives on your Mac.
- Lastly, wait for the files to finish copying then safely remove the USB device from your macOS computer.
Also Read- How to Take Better Photos and Videos on Your iPhone?
Method #3. use Cloud Service to transfer Photos from a PC to Mac
Cloud services have become paramount in the realm of storage and file-sharing. They equip a virtual space where files can be securely stored and accessed for extended periods without any hassle. As we all know, Google Drive is the preferred cloud service for the Android platform, although there are other third-party alternatives obtainable, such as Dropbox, relying on respective needs.
Besides that, the high compatibility of cloud services is a significant benefit that authorizes users to access their stored files effortlessly from a wide range of devices and platforms. Moreover, with cloud service, acquiring your files such as Pictures on cloud service is a breeze, doesn’t matter if you’re using a computer, smartphone, tab, or even a smart TV. The versatility of cloud services permits you to connect from myriad devices at any time, all you require is a stable internet connection. This compatibility prolongs across different operating systems, such as Windows, macOS as well as Android and iOS.
You can easily set up and download Google Drive on your Mac using the attached link and then log in to your account. Once you have set it up on your Mac, open My Drive using Finder then choose either mirror files or stream files as your synching options.
Stream Files: By opting for stream files, you can store all your My Drive files in the cloud. This implies your files are not physically stored on your device but can be accessed online whenever you have an internet connection. Besides that, you have the flexibility to pick precise files and folders to be available offline, permitting you to acquire them even without an internet connection.
Mirror files: Opting for this option assures that all your My Drive files are stored both in the cloud and on your Mac. This indicates you have a local copy of your files on your device, permitting you to obtain them instantly without depending on an internet connection. All your files are automatically available offline, equipping you with seamless access whenever you need them.
Also Read- Say Goodbye To Stock Photos: Canva Text to Image AI
Method #4. Use Third-Party Apps To transfer Photos from a PC to Mac
You can also utilize the AirDroid Personal app, which is a third-party app to transfer photos from Mac to Windows using Nearby Share. You can conveniently transfer files between two devices located in close proximity. This method assures a smooth transfer process similar to Bluetooth connectivity, making it ideal when both devices are in the same environment. And more importantly, the AirDroid app is free to download!
- First, you need to install the AirDroid Personal app on both devices using the attached link. After that, launch the app and navigate to the Nearby tab. On the sender device (Your Windows PC), tap the Search button located on the right side of the screen.
- Next, you need to enable location settings on the receiver device (Your Mac) and wait for the AirDroid Personal app to complete the scanning process. Once completed, select the name of the receiver device displayed on the sender device’s screen.
- Accept the transfer request on the receiver device and gain access to the desired files by exploring the folders on the sender device. And finally, start transferring your photos seamlessly.
That’s it! These are the methods that you can use to transfer photos between your Windows and Mac seamlessly and efficiently.
Frequently Asked Question
How do I transfer files from Windows to Mac with the USB?

Transferring files from Windows to Mac using USB is one of the easiest methods you can opt for. If you wanna start transferring your files now, make sure to check our article for detailed guidelines and get your files transferred in no time.
What is the easiest method to transfer files between PC and Mac?

The foremost easiest method to transfer files between a PC and a Mac is by employing a portable device, for instance, a USB drive or perhaps an external hard drive. You just simply require to copy the files from the Windows onto the storage device, then, disconnect it from the PC, and ultimately connect it to your Mac. Subsequently, you require to copy the files from the storage device to the desired location on the Mac. This method is straightforward and likewise doesn’t require any additional software or complex configurations.


