


 Header Through Cloudflare")


Hackers are using public Wi-Fi to gain access to our devices and personal information. Therefore, it is becoming a threat to keep our Wi-Fi network in public mode all the time. In Windows 10, you can change your Wi-Fi network from Public to Private. And thereby save your network from hackers and viruses.
A wireless network in private mode keeps your home and office devices safe and out of danger’s way. Therefore, if you’re struggling to change the Public mode to Private, here are some ways you can try.
Read: How To Recover Your Deleted Files In Windows 11?
Switch Networks Using Wi-Fi Settings
The first and foremost step in changing the network from Public to Private is through your Wi-Fi settings.
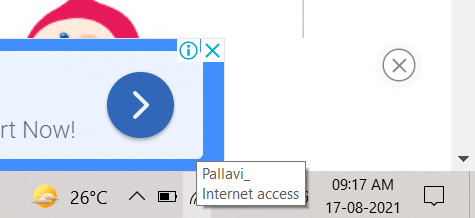
Step 1: On your Windows 10 taskbar, go to the Wi-Fi icon on the right-hand side and click on it.
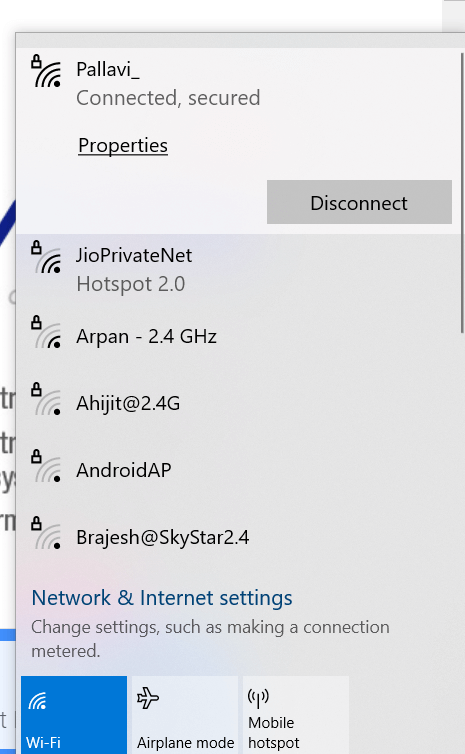
Step 2: Go to Properties on the network you’re connected to.
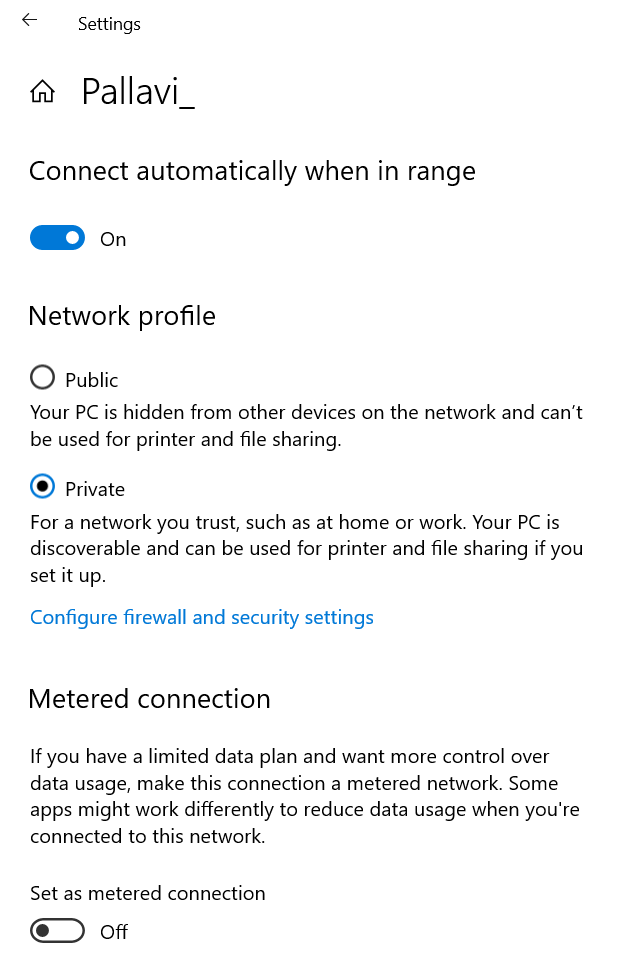
Step 3: Under Network Profile, enable Private, and that’s about it.
Furthermore, with these basic steps, you will be able to set your network to Private from Public.
Read Unnecessary Windows Programs and Apps You Should Uninstall
Switch Network From Public To Private Using Ethernet Lan Settings
The Ethernet LAN settings can also help in changing Public Network to Private. Here’s how to do it.
Step 1: Go to Settings on Windows 10.
Step 2: Choose Network and Internet settings.
Step 3: Tap on Ethernet.
Step 4: Furthermore, tap on your network connection.
Step 5: And finally choose Private.
Read: Windows 11 Updates- Snipping Tool, Calculator, And Mail Apps
Switch Wi-Fi Network Using The Registry Editor
If the route mentioned above did not work for you, you could use the registry editor to change your network from Public to private.
Step 1: From your keyboard, tap on Windows + R.
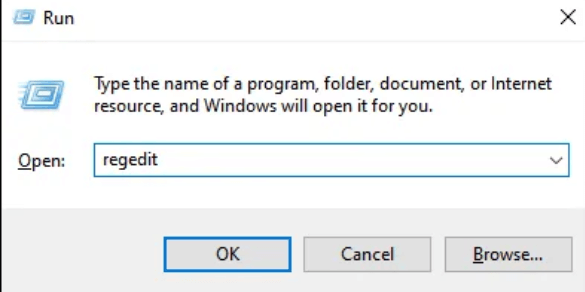
Step 2: Press regedit and click on the Enter key.
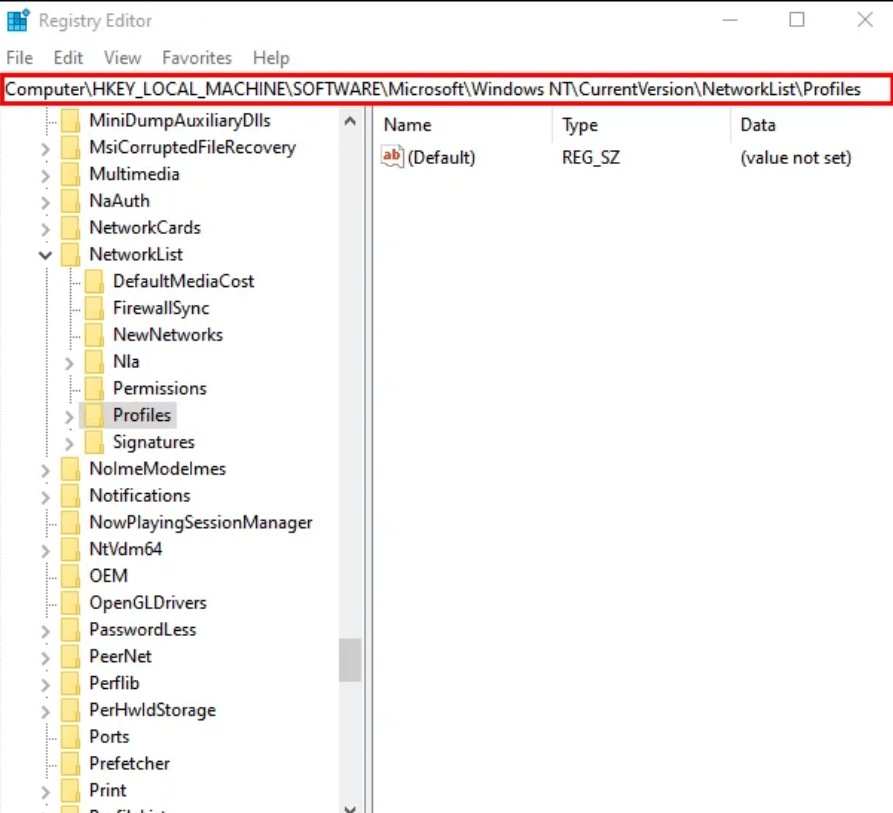
Step 3: Go to this key: HKEY_LOCAL_MACHINE\ SOFTWARE\Microsoft\Windows NT\ Current Version\Network List\Profiles.
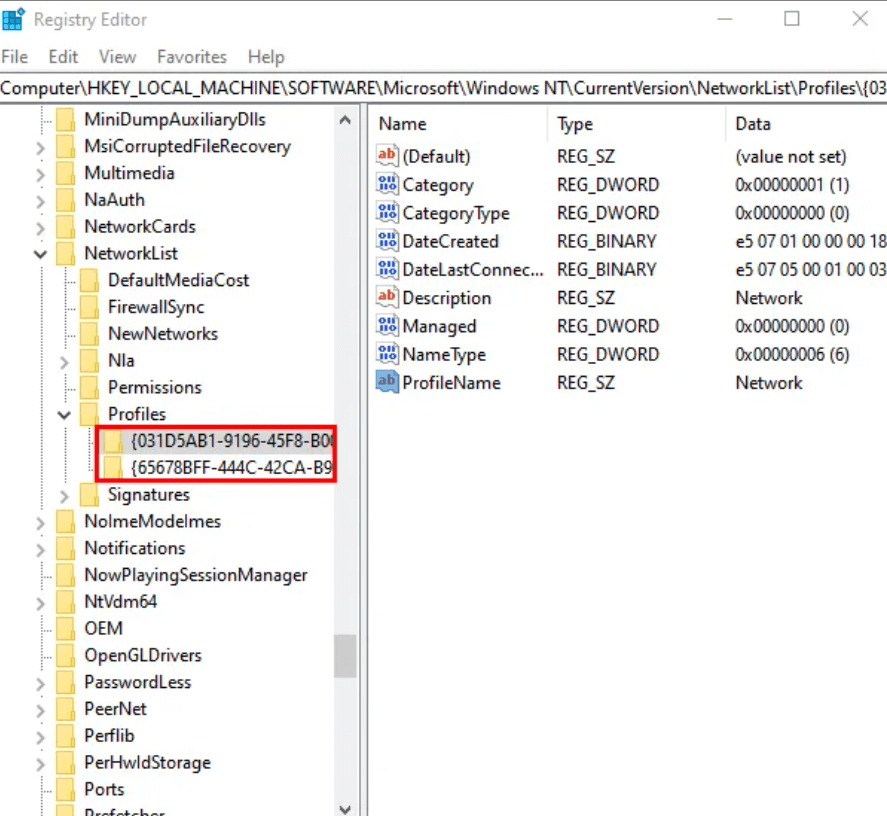
Step 4: On the left side, click on Profiles. Moreover, select your network name from the subkeys.
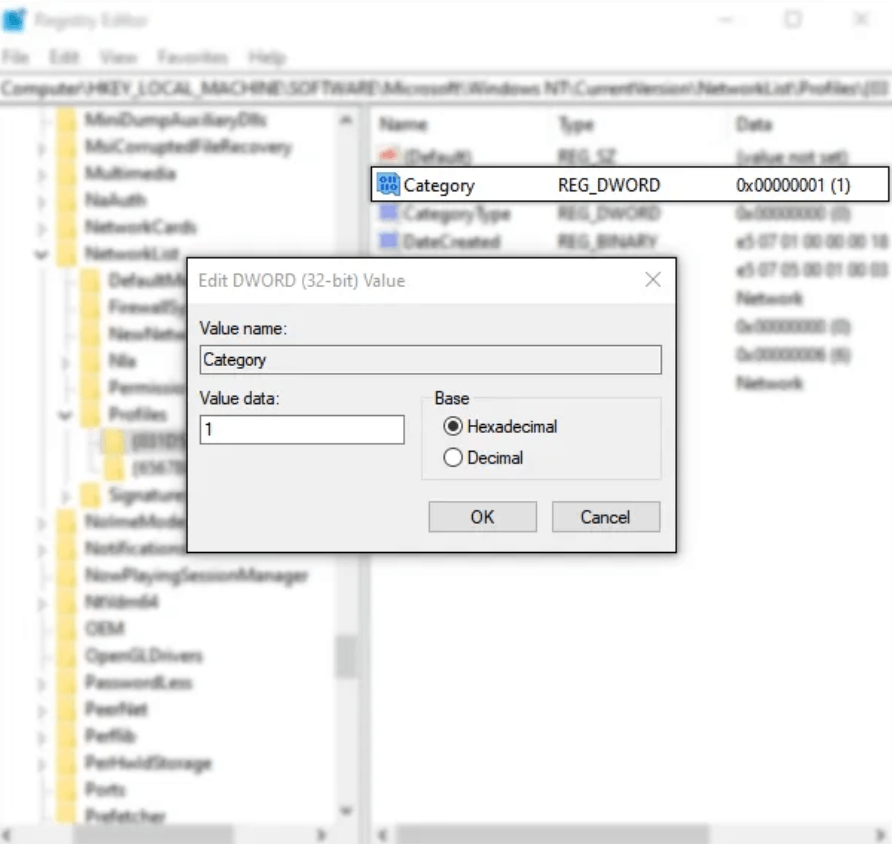
Step 5: Click twice on Category on the right pane and re-write DWORD values to Public 0; Private 1; Domain 2.
Once you have successfully finished this process, restart your computer and check to see the changes.
Also Read: Microsoft introduces xCloud to Windows PCs with the Xbox app
Switch From Public To Private Network Using PowerShell
PowerShell is a configuration management program that helps in cross-platform task automation through a command line. Therefore, to change network with this:
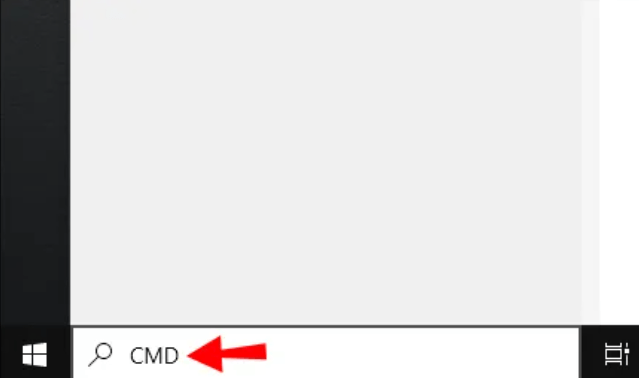
Step 1: Type CMD in your Windows Start Menu.
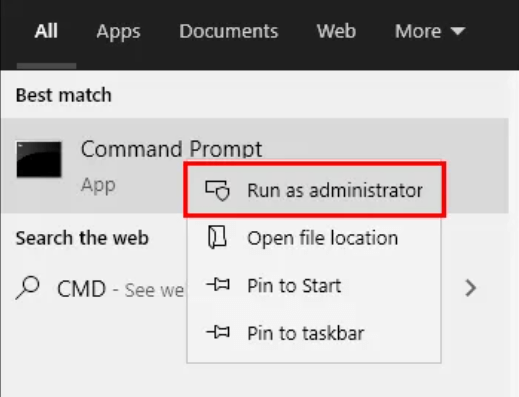
Step 2: When Command Prompt appears, right-click on it and choose Run As Administrator.
Step 3: Type the admin username and password to get admin rights.
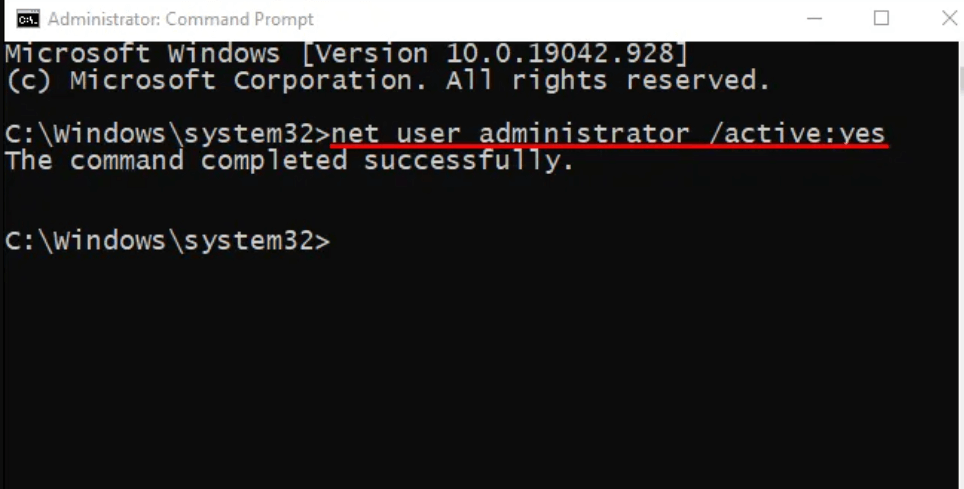
Step 4: Enter net user administrator/active: yes, then press the Enter Key.
Step 5: Go to PowerShell and press Get – NetConnectionProfile. This will bring up the connection type and properties of your network.
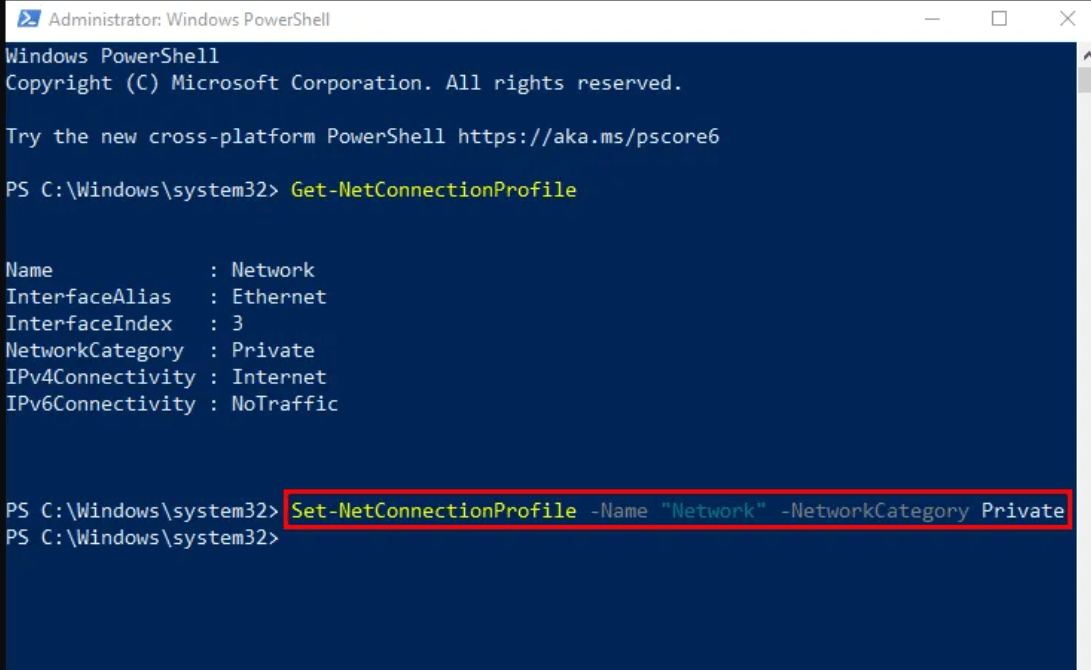
Step 6: Replace the Network Name with your network name and type this command: Set – NetConnectionProfile – Name “Network Name” – Network Category Private.
Moreover, if you would like to go back to Public in the future, type Network Category Public.
Also Read: Microsoft Windows 11: Rounded Corners, Spotify Integration And Focus Sessions
Switch Network From Public To Private Using Registry
The registry editor is risky to edit, much as any software present on your computer will be affected if you make changes. Therefore, you must be extra careful when editing the registry as it has the potential to make your operating system dysfunctional.
Quick Tip: Create a backup of your software before making any changes here.
Step 1: From your keyboard, press the shortcut Windows + R.
Step 2: A Run dialog box will appear. You have to enter command regedit and tap on the Enter key.
Step 3: Once again, go to the path, HKEY_LOCAL_MACHINE \SOFTWARE\MICROSOFT\ WINDOWS NT\ Current Version\ Network\Profiles. Moreover, you can locate this key on the left side of the pane.
Step 4: Again, click on the Profiles option and expand to choose your current network. On the side hand side of the subkey, select Category.
Step 5: It will open a dialog box that will say Edit DWORD (32-bit) Value. And just as you have done for regedit, change the value of Private to 1, Public to 0 and Domain to 2.
Moreover, restart your computer to check the new settings.
Also Read Microsoft Windows 11: Here’s What You Will Miss In The New Upgrade
Switch Using Local Group Policy Editor
If the ways mentioned above did not work for you, you could use the group policy editor to do the same.
Step 1: Go to group policy editor and type gpedit.msc on the Run dialog box, which will appear on your screen.
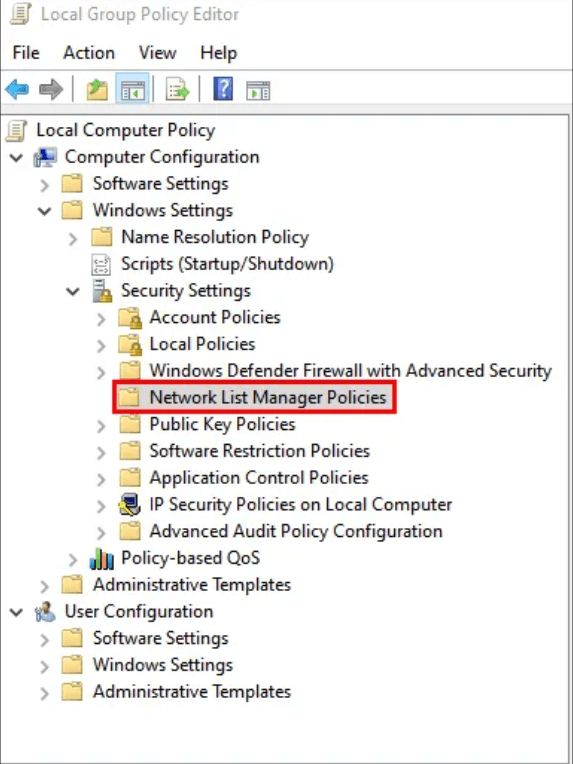
Step 2: Under Computer Configuration, select Windows Settings, then Security Settings. Furthermore, choose Network List Manager Policies.
Step 3: Click twice on Unidentified Networks. It will direct you to a new dialog box. Here select Private under Location Type.
This will help you switch to a private Wi-Fi network. Moreover, you can re-do the steps and select Public in the future.
Conclusion
In addition to following these steps to keep your mobile and computer safe, you should also secure your home or office internet connection. For instance, after you receive your Wi-Fi connection, change the generic username and password to a complicated and strong one. Moreover, try to keep all your software up to date.
Read: How to AirPlay From Your Apple Devices To Your TV


