


 Header Through Cloudflare")


In Windows 10, many users have reported that their snip & sketch tool is not working. The problem showed up after they upgraded to Windows 10. The snip and sketch tool is an alternative tool to take screenshots. It also allows users to edit those snapshots and save them in the gallery. It is a handy tool that one can access through the Windows shortcut key, Windows + Shift + S.
When you have to take snapshots of your screen back to back while showing someone a tutorial or explaining something about the software, the snip & sketch tool is everybody’s go-to. But with so many users experiencing troubleshooting issues with this tool, how can we not cover it right? So here are the ways in which you can fix this issue on your system.
Read: Microsoft Windows 11: Rounded Corners, Spotify Integration And Focus Sessions
1. Restart Computer
After you upgrade your operating system or download new software, computers tend to slow down as the software takes time to adjust with your system. So you will often notice that if you go for a long period without rebooting your computer, it becomes quite prone to lagging and troubleshooting issues. Therefore, restart your computer and then check if the snip and sketch tool is working or not.
Read: Windows 11 Beta: Step By Step Method To Install Now
2. Reset Snip & Sketch
Often, the issue is hidden in how an app installs and a quick reset can solve it all. To reset, snip and sketch, read and follow these steps.
Step 1: Go to the Windows icon on your start menu and right-click on it.
Step 2: Select Apps and Features and Snip & Sketch from under it. Tap on Advanced Features.
Step 3: The Reset button will appear at the bottom; click on it.
Now give the application some time to reset, and it should be running fine.
Also Read: How To Turn Off The MSN News And Weather Feed From Taskbar In Windows?
How To Use FaceTime On Your Windows PC?
3. Downgrade From Windows 10
If even after taking the first two steps, the snip and sketch tool is not working then maybe there has been an issue with the first Windows 10 download. So the next best thing to do is to roll back on your Windows 10 update. But before you do this, store a backup of your data from Windows 10. Then, follow these steps to do the same.
Step 1: Go to Settings by clicking on Windows + I and click on Update And Security.
Step 2: On the left-hand side, select Recovery.
Step 3: Under Recovery, you will find the option Go Back To The Previous Version Of Windows 10. Tap on Get Started.
Thereby, follow the instructions as they come, and you will be able to downgrade to the previous operating software. Next, try to install Windows 10 correctly from the source and ensure no software is corrupt.
Also read Microsoft Windows 11: Here’s What You Will Miss In The New Upgrade
Microsoft Teams: A New Addition To Windows 11
Windows 11 is coming with New Entertainment Widget
4. Try SFC Command
As we discussed above, sometimes the software can become corrupt, and as a result, the application starts troubleshooting. Therefore, in such cases, you can try to run the SFC utility in the command prompt. Moreover, if you do not know how to do that, follow the simple steps below.
Step 1: Type cmd on the Windows search bar.
Step 2: From the right-hand side, select Run As Administrator, which will open the Command prompt.
Step 3: On the command prompt window, type sfc/scannow and type enter.
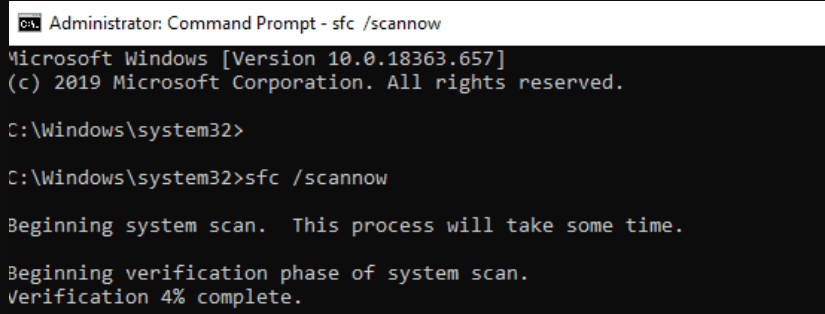
Step 4: After the completion of the scan, type snippingtool.exe to relaunch.
This process is another way to fix the snip and sketch tool and should most probably get you rid of the problem. However, in case this still does not work out, try out the next way.
Also Read: Keep This In Mind Before Updating Your PC With Windows 11
XDA Basics: How To Record Your Screen In Windows 11?
5. Register The Snip & Sketch Tool Again In Windows 10
Re-registering may help in fixing the bugs in the snip & sketch tool in Windows 10. Therefore, follow the detailed steps to execute the process.
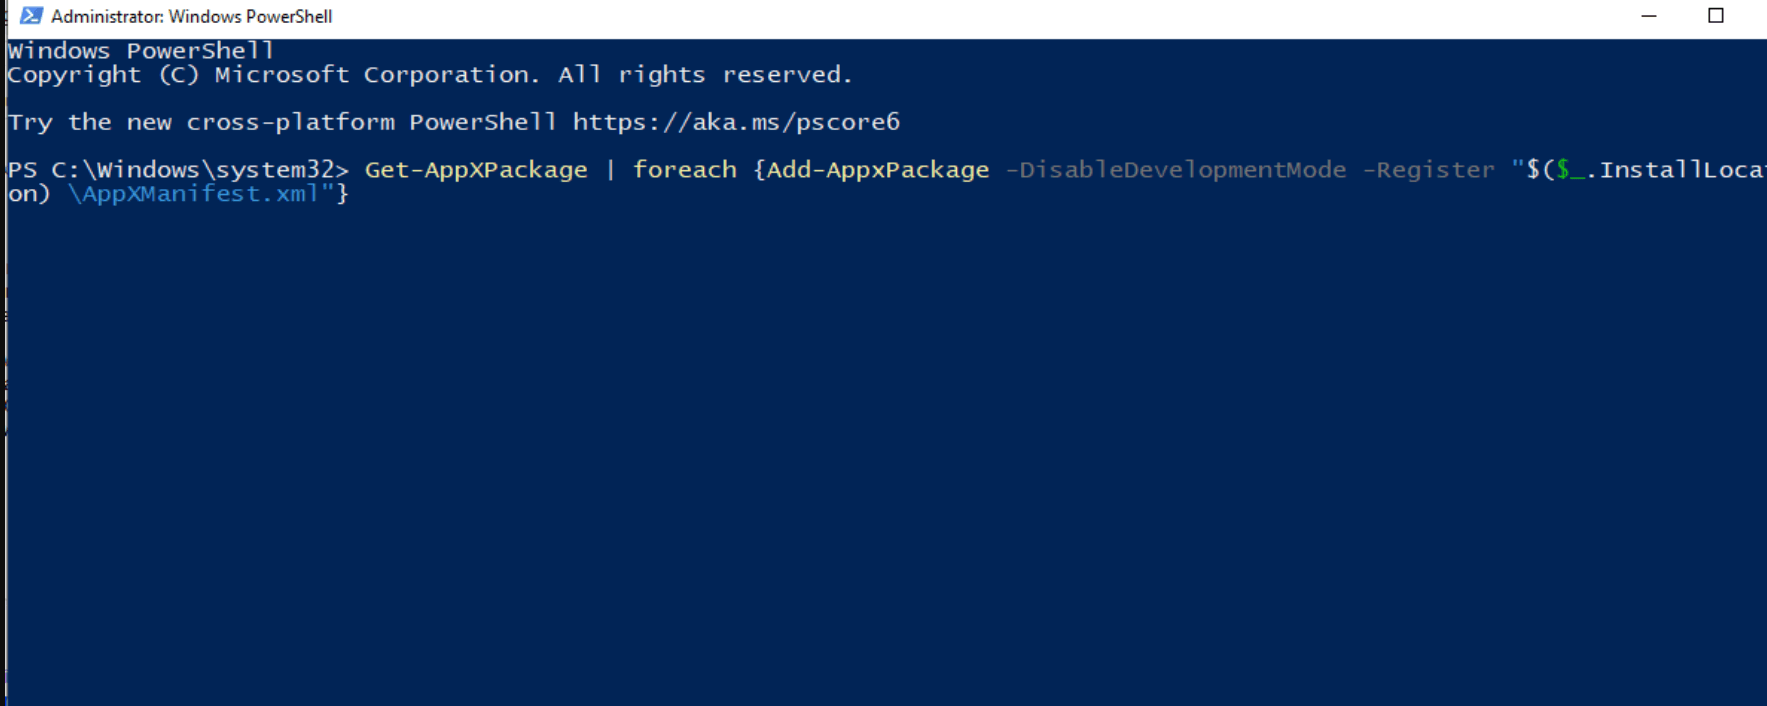
Step 1: From your keyboard, press shortcuts, Windows + X. Go to Windows Power Shell.
Step 2: Now just copy and paste this: Get AppXPackage – All Users| Foreach {Add-AppxPackage – DisableDevelopementMode – Register”$($_.InstallLocation)\AppXManifest.xml”} in the powershell window.
Conclusion
Therefore, by following these methods, you will be able to fix the snip & sketch tool not working. Moreover, if you did not know about this app, you can go to Windows Search and type Snip & Sketch. The tool will show up in the start menu. Click on it and follow the instructions on the screen.
Furthermore, once you get used to the tool, taking snapshots of your screen will become a walk in the park.
Trending News: Antivirus vs VPN – Which Protects You Online Better in 2021?


nice