


 Header Through Cloudflare")


")
In this guide, we have explained everything that you need to know about iCloud Shared Photo Library in iOS 16.
When we go on a vacation with our friends, we tend to click tons of photos with our smartphones. At the end of the trip, when it comes to sharing pictures, generally, we take the help of a social media app or any cloud service to do so. In this scenario, we might miss some of the other images.
To facilitate hassle-free sharing of pictures, Apple has introduced the iCloud Shared Photo Library feature on iOS 16, which enables you and your friends to upload and share all the photos in one place. What makes this feature different from other services is that you can allow iPhone to automatically share the relevant photos with the other members of the library. Keep reading below to know what the iCloud Shared Photo Library is all about and how can you enable and use it on your iPhone after upgrading to iOS 16.
Also Read: Apps Not Downloading On iOS 16? Try These Fixes
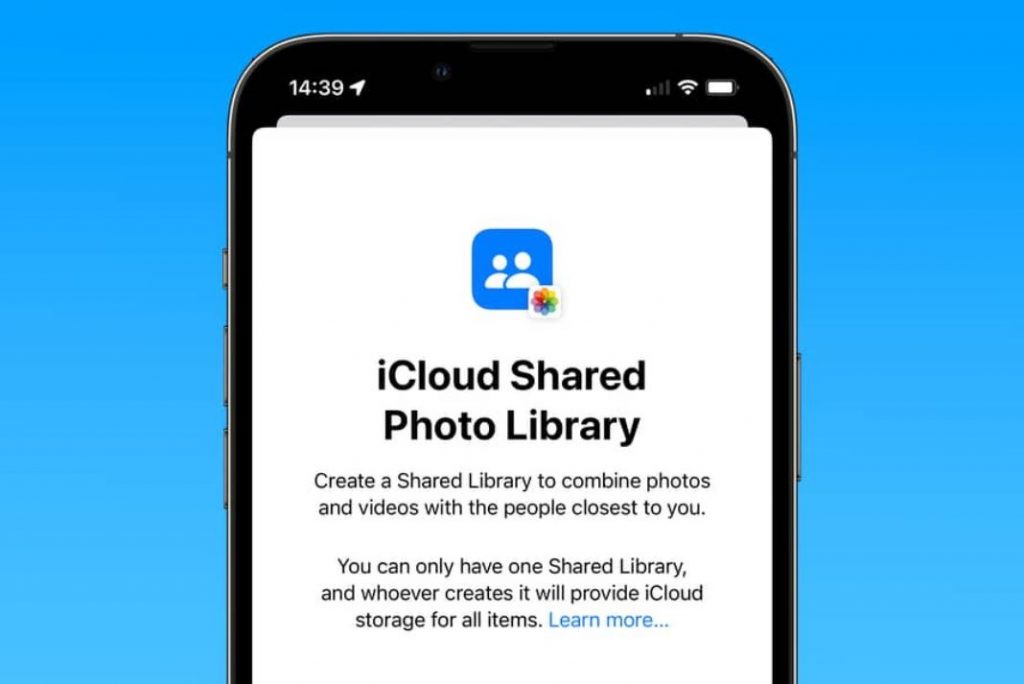
What is iCloud Shared Photo Library on iOS 16?
iCloud Shared Library features enable you to share your pictures and video with five other participants, and the other participants can also do the same.
After a shared library is created, you and the other participants can control what media files are getting shared and the time of sharing.
To avoid duplicates, Apple automatically removes the shared content from the personal library as soon as you move it to the shared library. When you create a shared library, you can an option to choose which photos you want to share without participants. You can share all the photos, photos taken on a certain date, or manually select the photos to share with others.
Also Read: Hassle Free Transfer eSIM Between Apple iPhones Running iOS 16
Enable iCloud Shared Photo Library in iOS 16
To use the iCloud Share Photo Library feature on your iPhone, you first need to upgrade your iPhone to iOS 16. Once done, follow these steps:
- Access the Settings app on your iPhone
- Now click on Photos.
- Now you need to see if iCloud Photos is enabled or not.
- If the option is disabled, all you need to do is to enable the iCloud Photos toggle.
- After enabling this option, you will have to wait for some time so that your photos successfully sync with iCloud.
- After the process is completed, keep scrolling and tap the Shared Library option present under Library.
- Now, the Shared Library welcome screen will pop up on the screen. It will also contain instructions about this feature.
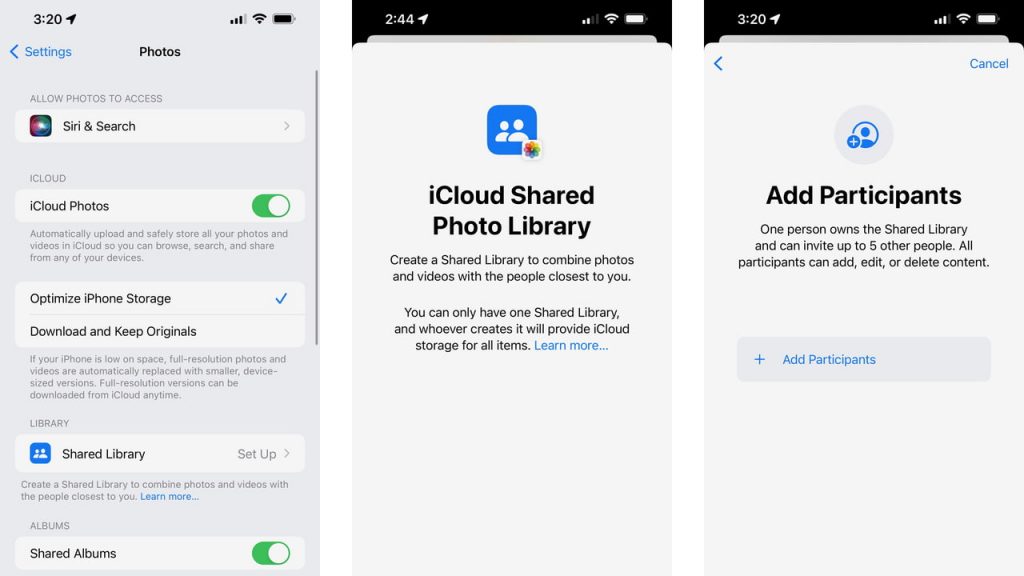
- After reading it, tap the Start Setup button located at the bottom.
- As soon as you will click on it, you will be prompted to add the participants with whom you want to share photos in the shared library. To do so, tap the Add Participants button.
- Here, you will have to provide the details like the name, phone number, and email address of the participant. After this, tap the + icon on the right. Now that person will be added to your list of contacts.
- After adding the participants to the list, press the Add option located in the top right corner.
- You will see the name of that person is visible under Add Participants.
- After this, press the Continue button.
- Next, a new screen will pop up where you will see the photos and videos that want to add Shared Library.
Also Read: How To Customize The iPhone Lock Screen In iOS 16
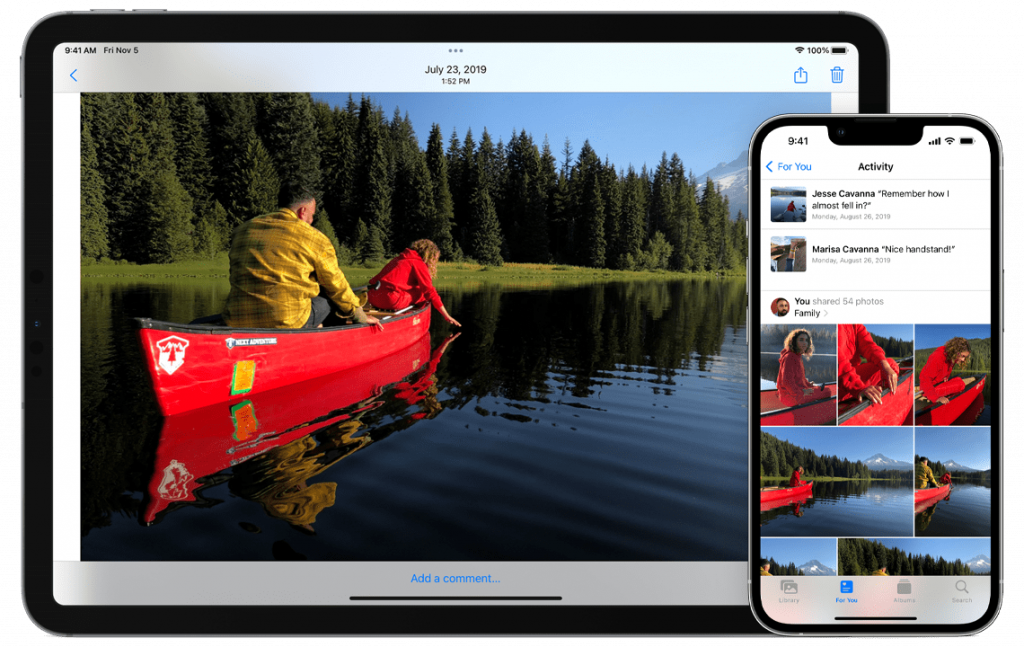
How to share photos and videos in Shared Library
You will be presented with three options for sharing your content. They are as follows:
- All My Photos and Videos: This option directly moves all the content of your iCloud library to the shared library. All the participants will have the access to view, edit, and delete the photos and videos.
- Choose by Date: This option will move all the content from the selected date saved on your photo library into the shared library.
- Choose Manually: This option gives you the freedom to choose which pictures and videos you want to share with the other participants of the shared library. We recommend choosing this option to shared content in the shared library.
After choosing Manually, press the Continue button. Now, the photo library screen will pop up where you will choose the photos you wish to share.
After making the selection, you will be taken to the preview screen which asks you whether you want to preview the Share Library.
You can choose either the Skip or Continue option.
Also Read: How To Enable And Use Quick Note On iPhone In iOS 16
After you preview the shared photo library section, you can press the Continue button located on the top right.
On the invite screen, choose how you want to invite participants to the library. After selecting the invite method, you can press the send button at the bottom right.
Enable the Share Automatically option if you want that Apple to automatically send the content to the Shared Library. Choose the Share Manually option if you want to have control over what the share.
Also Read: Hands On: Everything About CarPlay In iOS 16
Conclusion
That’s all in this guide about iCloud Shared Photo Library on iOS 16. Thanks to Apple, it now becomes easy to share your photos and videos with every one of the group. What do you think about this feature? Share your thoughts below.


