


 Header Through Cloudflare")


macOS Ventura wasn’t released until July, developers have been busy porting over their existing code and testing it under the new operating system since its June announcement. And, not unexpectedly, they have discovered a couple of problems with the most recent Ventura update.
Users may inevitably run into problems with Ventura, such as an unsuccessful installation or a system that refuses to boot. You shouldn’t give up so soon! All reported issues with Ventura have been investigated, and there appears to be nothing beyond the scope of our current abilities to resolve. So far, there have been no serious problems; they are all easily solvable. There don’t appear to be any major speed concerns with macOS 13 (even the beta version!). Keep reading to discover how to install macOS Ventura without risk and address any problems you may have.
Initiating the Ventura Setup Process
Always have a backup of your Mac before installing any macOS updates. The ideal method is with Time Machine because recovering from a Time Machine backup is a breeze with macOS Recovery. However, having any sort of safety net is always preferable than none at all.
Help with Mac OS Ventura Issues
1# Problems with the macOS Ventura update
The first things people notice are problems with the download process and how they play out when you try to install the beta version of macOS Ventura on an external hard drive. Before, you could utilize the installer placed in your Applications folder after installing a beta version or upgrading to a full version of macOS to create a bootable external drive. It appears that in certain cases, Ventura only downloads the supplementary files it needs to update your Mac, rather than the whole installer, making it impossible to create an external boot drive. This problem has not been rectified yet, but hopefully, it will be before the final product is released.
2# No wireless connectivity in macOS Ventura

Click the Wi-Fi icon in the menu bar or Control Center to make sure your Mac is linked to the correct Wi-Fi network. After the upgrade, it could have “forgotten” which network to use. Try turning Wi-Fi off and back on your Mac if that doesn’t work. No joy? If you’re having trouble connecting to your Wi-Fi, try moving yourself or your router. Rebooting the router should be your last resort.
Turning Bluetooth off and back on again can often resolve connectivity issues. If it doesn’t work, try taking out all of your Bluetooth devices and then putting them back in.
3# Problem starting up macOS Ventura.
This is not limited to the Ventura release of macOS; the solution is universal. If your Mac won’t start, try the solutions below.
- A power check
An easy fix is frequently the best one. If you haven’t already, connect the power cord to the wall outlet so that your MacBook Pro or MacBook Air can charge. Verify the connection is secure and the cable is plugged in properly if it is already hooked in or if you are using a desktop Mac such as an iMac, Mac mini, or Mac Studio.
- Is there something wrong with the Mac, or is the screen?
When your Mac seemingly won’t boot, the issue may not be with the Mac at all. It has booted, but you may not recognise it because the display is broken or your Mac does not ring at startup. Whether you’re using a Mac desktop with an attached display or a laptop with the lid closed and an external monitor connected, you’ll need to be sure the monitor is both plugged in and turned on. If it’s not picking up any signals from your Mac, try unplugging and plugging it back in.
- Does it start up far enough to display a login screen?
Power and display issues eliminated, try booting into a different user account, if your Mac ever makes it to the login page. It’s possible that the issue originates with your primary user account, namely with any launch agents or login items.
- Turn on the Safe Mode Boot Attempt.
Booting your Mac in Safe mode loads only the extensions required for it to work and also performs tests on your Mac to guarantee it is ok. Put your computer into Safe mode by repeating the procedures above. If it starts normally, the problem is likely caused by an add-on, launcher, or login component that the manufacturer didn’t install.
4# Mac Continuously Restarts Itself
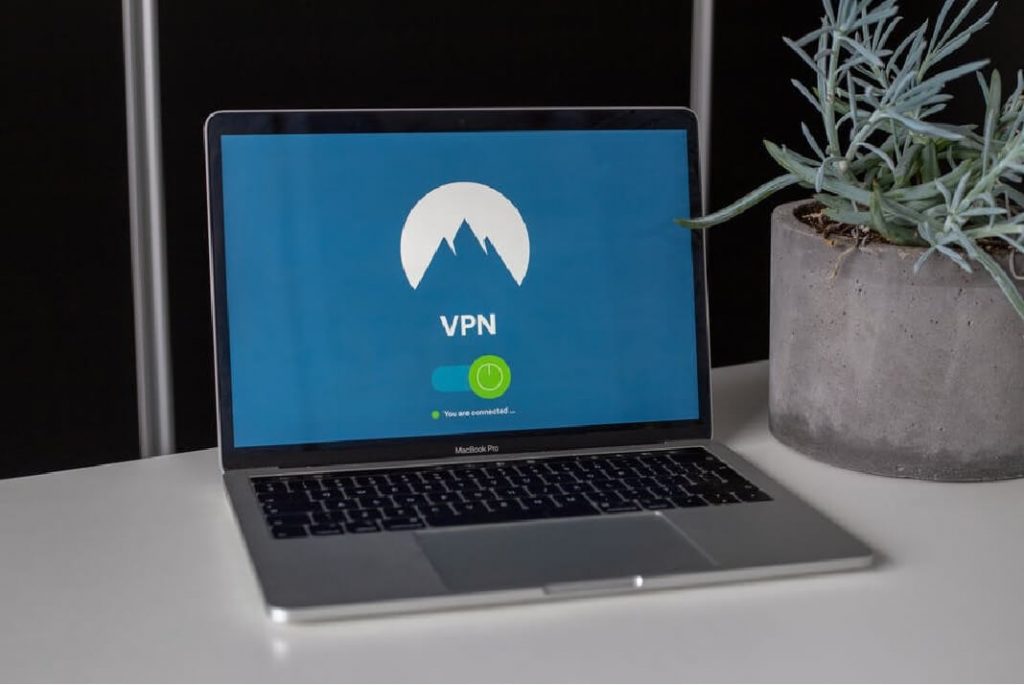
Some users have complained that after installing the Ventura update, their Macs automatically restart within a few minutes and their fans are spinning quite quickly. To resolve this problem, please uninstall any VPN software and disable any auto-starting apps. It’s possible that these are causing issues because of the third-party programmes that have root access. Also, in the networking options that come with the kernel extension, make sure filtering extension is turned off. If you know you won’t be able to keep your Mac around for very long, you should try booting into Safe Mode and seeing if that allows you to resolve any problems you’re experiencing.
5# Error installing macOS Ventura.
Check compatibility
Many older Macs (even those you might not consider ancient) are incompatible with macOS Ventura, so check the list before upgrading. You may use Ventura with these Macs:
Macintosh computers manufactured after 2017 (iMac), 2017 (iMac Pro), 2018 (MacBook Air), 2019 (MacPro), and 2022 (Mac Studio)
Only MacBooks and Mac minis released in 2017 and after will do.\Launch a new operating system boot in safe mode and try again. This has the potential to resolve issues with updating to Ventura caused by the “gateway timed out” error.
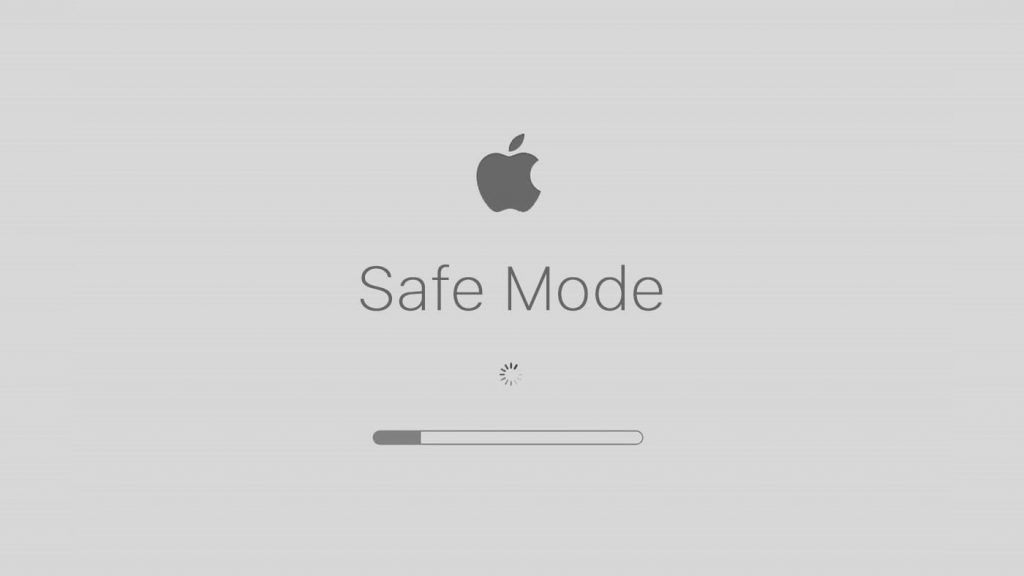
The following is the procedure for restarting an Apple Silicon Mac into safe mode:
- The Mac must be turned off.
- Restart your Mac by pressing and holding the power button until the “Loading startup settings” screen appears.
- To enter Safe Mode, select a volume level and hold down the Shift key while clicking the Continue button.
Learn how to restart your Intel-based Mac into safe mode below.
- Please turn off your Mac.
- Power on your Mac while holding down the Shift key.
- When prompted, enter your credentials and select Safe Mode.
- After starting up in safe mode, reinstall macOS Ventura.
6# Unstable behavior in macOS Ventura
There could be a variety of causes for macOS Ventura crashing or running slowly. The additional resources required by the new OS could slow down your Mac if it is an older model that barely meets the requirements for Ventura support.
- Bring your software up to date.
Most apps should run properly on macOS Ventura as long as they’re updated. However, certain programs become unstable unless updated, so you should update all the apps you usually use if you find that Ventura crashes or runs slowly. Use the App Store or the app itself to look for updates by selecting the app’s name followed by “Check for Updates.”
- Check the status of your activities with the help of Activity Monitor.
To determine which programmes or services are hogging your Mac’s resources and causing it to run slowly or in an unexpected manner, you can turn to Activity Monitor.
Conclusion
macOS Ventura, the most recent update to the Mac operating system, is fantastic and includes numerous useful updates and even some brand-new programmes. However, there are a couple of issues with Ventura. Fortunately, most of these are straightforward to resolve. You can solve your issue by following the procedures outlined above. Then you’ll be able to enjoy all the fantastic things in Ventura.


