


 Header Through Cloudflare")


Mac users, prepare for macOS Ventura, Apple’s next operating system. There were several new additions to the Apple ecosystem in the beta version that came out in June of 2022. Users of macOS Ventura have reported multiple issues with installation and functionality, which is currently in beta.
These macOS Ventura issues may be annoying, but finding a solution is not a top priority. To help you out, we’ve taken the time to develop a page that addresses the most prevalent macOS Ventura difficulties and provides advice on how to resolve them.
Apple has announced a new version of its dictation tool, Enhanced Dictation, which is more accurate and more convenient and does not require an active Internet connection to operate. This function’s popularity, however, was accompanied by a host of problems.
Several users have mentioned that after installing an OS update, the dictation function either ceased or stopped working improperly. However, there are several solutions to these difficulties, even though they emerge after a system upgrade.
Also Read: macOS Ventura Update Prevents Zoom From Operating: Solved
Enhanced Dictation: What’s New?
The latest update enables uninterrupted dictation sessions. No network access is necessary since the translation will take place locally on the computer rather than sending your words somewhere. Dictation commands are another option for giving the Mac instructions.
How does improved dictation vary from standard dictation?
After being recorded, the dictation data is sent to the Apple Server and converted to text. Because of this, regular dictation requires an active Internet connection on the Mac; without one, the process of turning your spoken words into text will be slower, and you’ll only be able to dictate for a maximum of 40 seconds (30 seconds if you’re using OS X Yosemite or an earlier version of OS X).
As was previously indicated, the improved version may be used without an active Internet connection and has an unconstrained speaking cycle thanks to its ability to run locally on the computer.
Dictation on macOS Ventura: A Quick Start Guide
1. Select Dictation from the Apple menu.
2. Click System Preferences.
3. Click Keyboard.
4. Turn on Dictation.
Mac OS Ventura: How to Get Started with Speech Recognition
To put text into an app on a Mac, click the desired location and then click Insert.
Press the dictation button on your keyboard or select Start Dictation from the Edit menu to activate dictation.
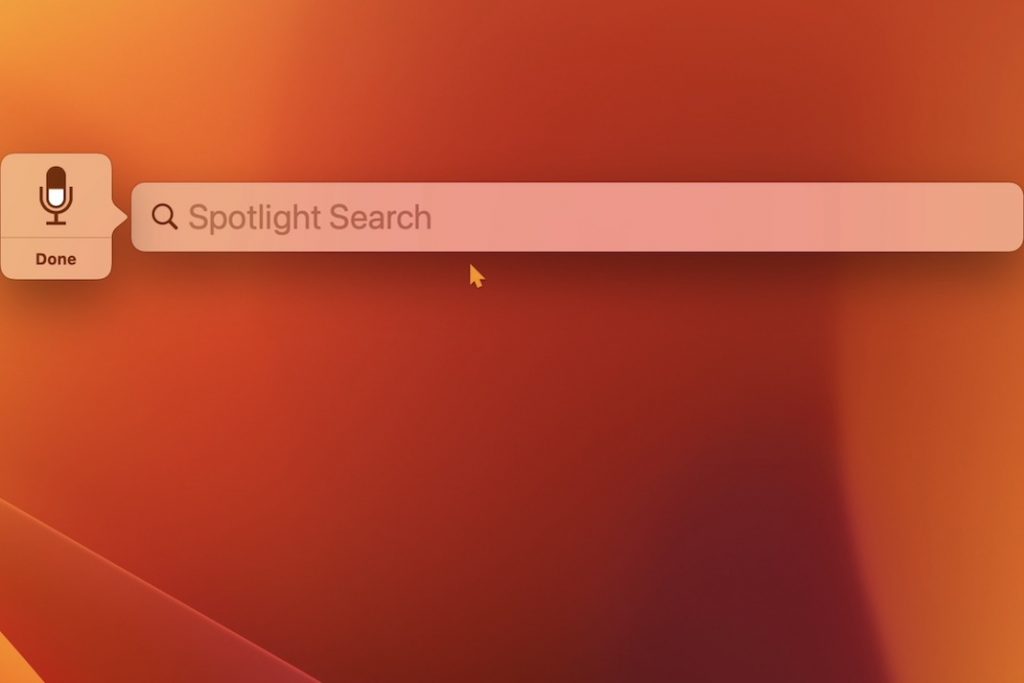
A microphone icon will show on the screen; at that time, you can narrate your text.
When you’re done, hit the return key.
It’s up to you how long you want to dictate for, however the function will disable itself after 30 seconds of silence.
As you speak, punctuation like commas, periods, and question marks are added automatically by dictation. If you want to use a different punctuation mark, you can state its name and it will be inserted.
If you type “new line,” the content will be moved down one line, and if you type “new paragraph,” it will be moved down two lines.
Dictation is not intended to be a replacement for other accessibility options. The process of enabling Voice Control in Accessibility in order to use your voice to manage your Mac and its applications is coming up shortly.
Methods for addressing common issues with dictation
1. you may try turning off dictation and then turning it back on again. This approach is effective and does not call for extensive preparation or expertise.
2. You should try turning off dictation and restarting the device. Once the system has finished booting, you should activate the speech recognition function again.
3. Turning off the function and then turning it back on again is not a guaranteed fix, although resetting the system in between may help.
4. Launch Finder, then select Edit from the menu bar. After that, click the Dictation button. The dictation shortcut is activated by pressing the Function Key (Fn) twice.
5. See whether any currently-open programs are the root of the issue.
6. Experiment with Dictation after closing all other programs. Launch each app one at a time and test the speech recognition capability by eliminating whether it functions while none of the apps are active. While this approach is time-consuming, it could just fix the problem. Once you’ve identified the offending software or apps, you can either check for updates or get in touch with the app’s creator for a more tailored fix.
As an alternate approach to fixing dictation problems,
When none of the other solutions worked, users claimed success with this (very complicated) method:
1. Access Users & Groups from the System Preferences menu.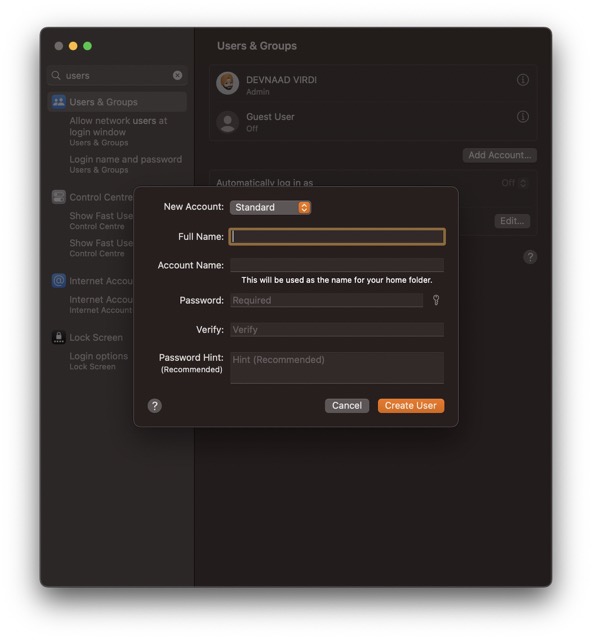
2. Make a new, administrator account.
3. Log in as the new administrator when the Mac has restarted.
4. Switch the primary account’s rights from Administrator to Standard by unchecking Give the user permission to set up and manage the system.
5. Turn off the safety settings on the primary account.
6. Restore administrative privileges to the primary account.
7. Start the Mac up again as an administrator and login with that account.
8. activate dictation and remove the temporary administrator account.
By these methods, you can fix the issue. If any other solution you have found please mention it in the comments below


